Never too young or old to help.
I decided that even though it was a lot more work, that I'd sheathe the entire structure with 1"x6" rough sawn boards. I thought this would give it a more classic look on the interior (since I wasn't going to finish the inside). I chose 1"x6"x8' and 1"x6"x12' standard rough sawn boards for the outside walls, mainly because the T&G at the saw mill was in bad shape and they weren't planning on milling more this year. For the roof, I managed to get 1"x6"x14' T&G. This would give a 12" rough overhang on each gable end. Using 2-1/2" common nails, I started at the base of each wall and worked my way up and around, making sure to staggar any joints. I managed to reach the top plate with only the use of a step ladder.
David showing off his work.
Scaffolfing and sheathing process.
Sheathing the roof was a team effort. My father and I built a scaffolding out of wood to work off of. Having two people made inserting a 14' length of T&G much easier. We worked as high as we could until we couldn't reach. I ended up screwing a piece of 2"x4" across the length of the roof about 3' up from the scaffolding to stand on and finish the job (I wouldn't reccommend doing this). When one side was finished, we moved the scaffolding to the other side and got most of that finished. My lumber calculations were off and we were short four 1"x6"x14'. None left at the mill, so I have to finish it up using 1"x6"x8' I sourced at the local hardware store.
Support bracing for the rafters.
Short four lengths of T&G.
One completed side.
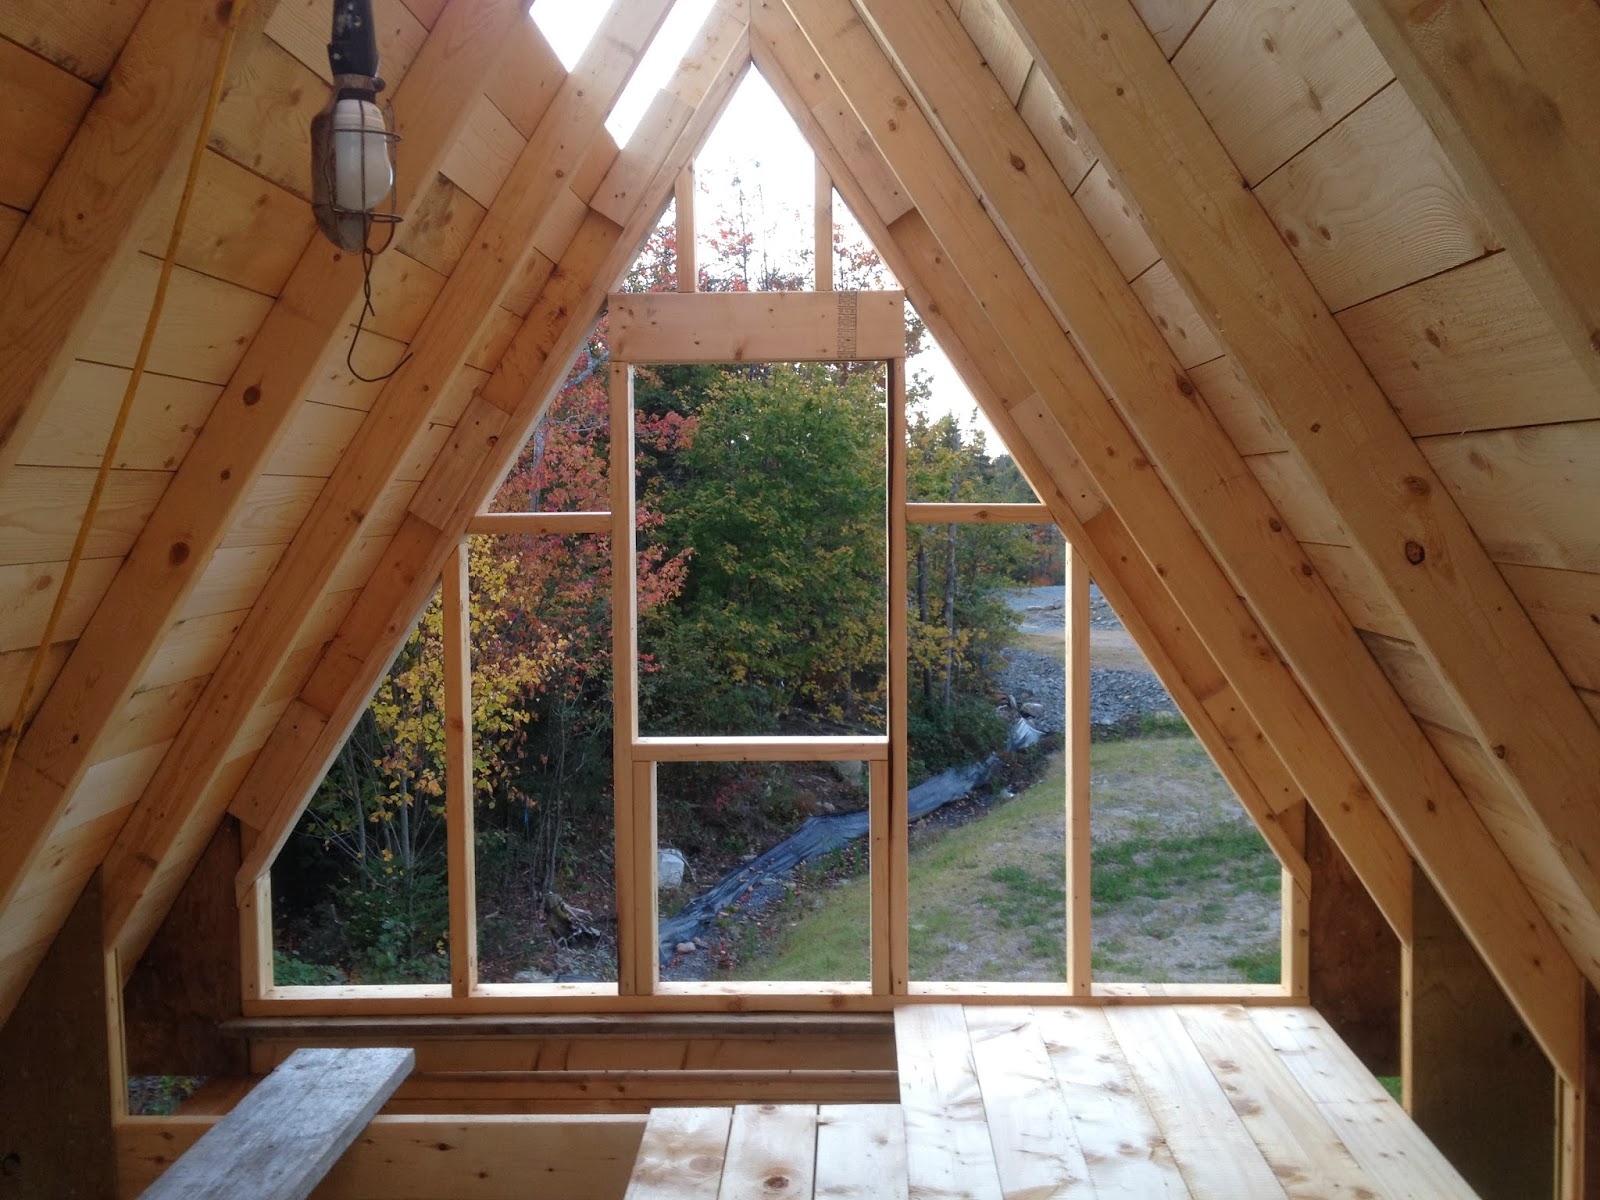
 Now I had to tackle framing in the gable ends. I knew I wanted a window on one end, but tying a wall into a gable truss was going to take some time. I basically had to make a 2"x4" frame to tie in perpendically to the truss using 3-1/2" screws. Using scrap 12" 2"x4" I blocked the frame in so that it wouldn't twist. This greatly improved its strength. Once the frame was in, I could fill the void 16" OC with 2"x4" cut at the roof angle (56 degrees). Everything was then screwed in using 2-1/2" screws. The other side was very similar, except that I had to adapt a rough window opening in the gable. Once again, I used a laminated 2"x6" header with 1/2" plywood in the centre.
2"x4" blocking on the gable ends.
Gable end framing detail.
Gable end window.
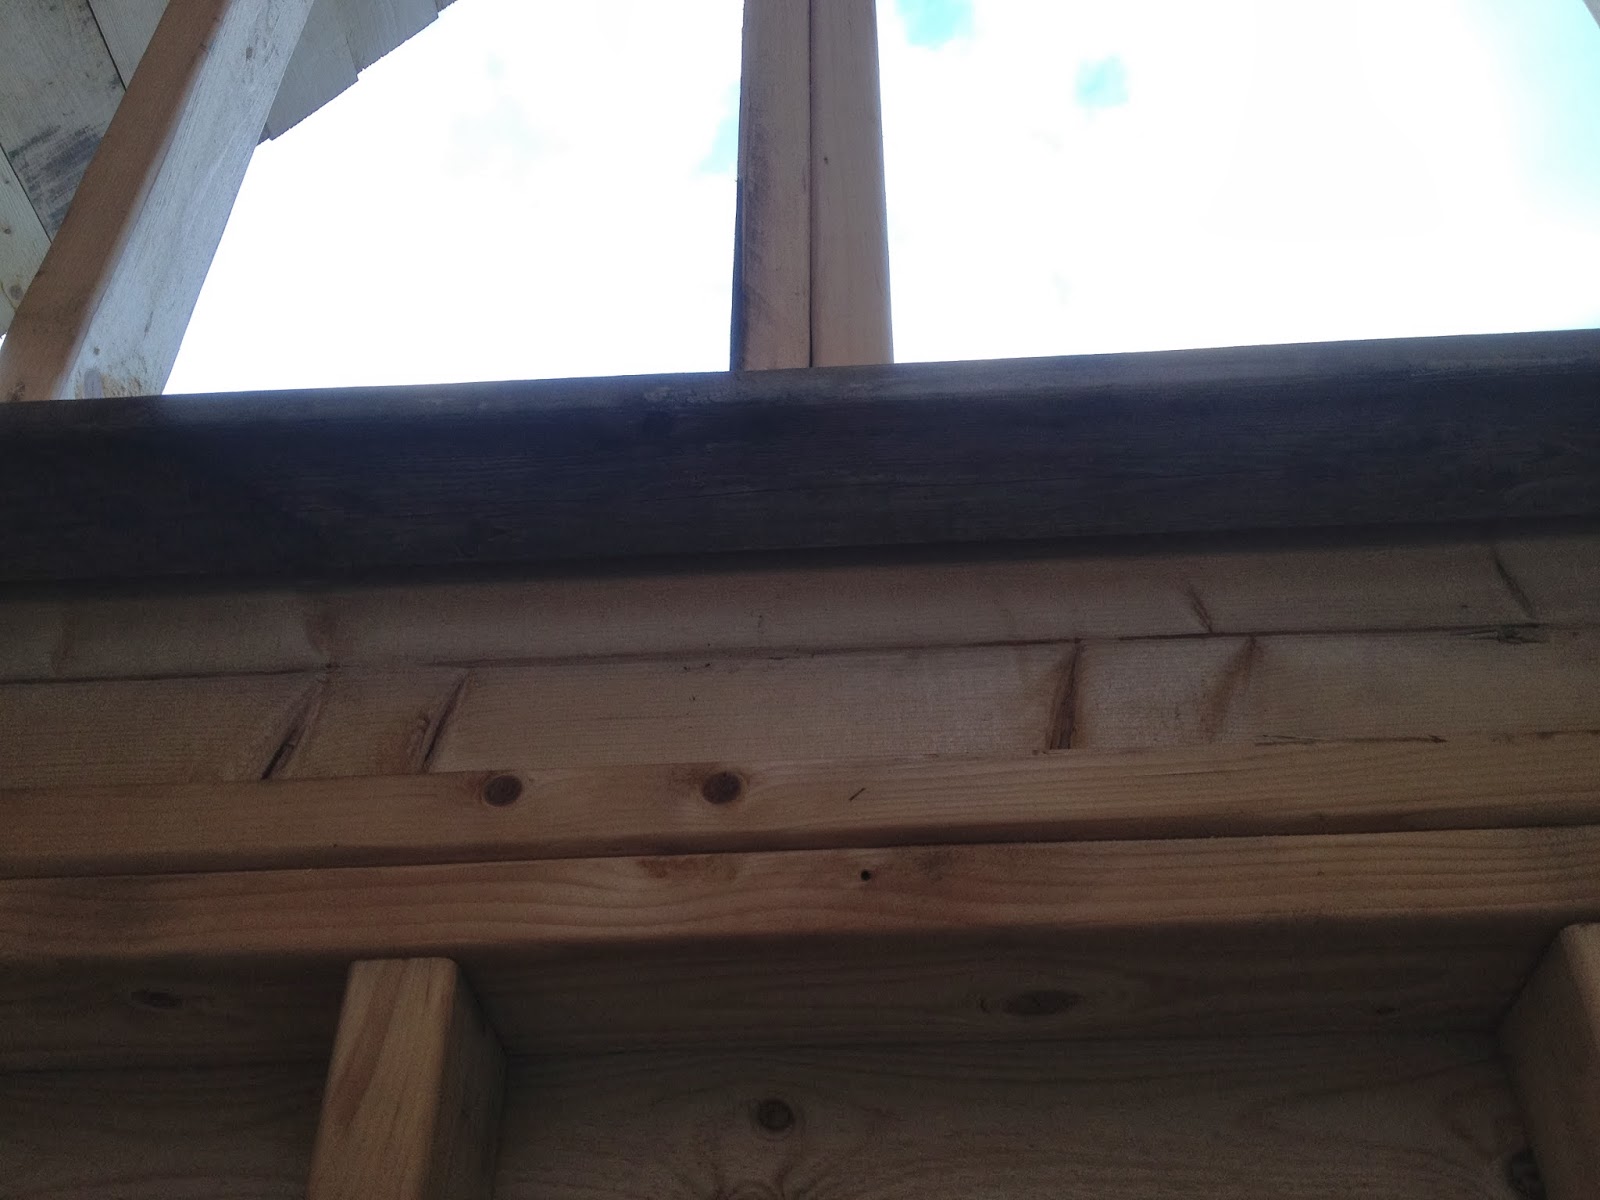
I figured now would be a good time to put the flooring in the loft, as I would have a hard time getting the floor boards in once the gable ends were sheathed. I had to somehow tie in the floor to the gable ends, so I screwed in a 90" long 1"x4" under the bottom plate of the gable wall temporarily. Under the 1"x4", I screwed in a 2"x4"x8' against the gable truss 2"x6" joist to make a secure tie. These members would be removed later on when doubling up the stair opening using 2"x6". Now up in the loft, I could lay down more 1"x6"x8' standard boards using 2-1/2" common nails. T&G would be overkill and installing it would be a pain. I made sure to leave an opening for a ladder/stairs the width of 20" (distance between the truss joists). I then framed (doubled up) the opening with 2"x6" to strengthen it. Finally I was able to finish sheathing the gable ends with 1"x6" and finish the roof sheathing with the 1"x6"x8' T&G.
Temporary floor end support.

Floor end support.
Boarded in gable ends.
Floor board detail.
Boarded in gable ends.
Stair access opening with permanent 2"x6" floor supports.
Next up, roofing and rake board finishing...


No comments:
Post a Comment