
Unplanked Floor.
 Being that the only place to put my shed was on top of a sewer easement on my property, I knew that the structure could not be permanent. The proposed site I chose was also not level, but sloping in two directions. I went to my local saw mill and bought three 6"x6"x8' and two 4"x6"x8' hemlock ties because I wanted to bury each one part way to anchor the structure. To anchor the ties even more, I bolted two 6"x6" galvanized post saddles using 1/2"x2" galvanized lag bolts wit 1/2" galvanized washers to two of the 6"x6"x8' ties. I was then able to completely bury the first tie up slope (saddles facing into the ground), and the second tie I buried only a few inches in the ground at the 6' length. Because my soil was compacted using a vibrating roller during the burial of the sewer pipe in the easement, I had a difficult time putting the tie with the saddles in the ground. I needed to pound a steel bar into the ground at the depth of the rebar post anchor to pre-form the holes so that the tie would properly seat on the ground.
 The final tie had to be created using a 6"x6"x8' sandwiched between two 4"x6"x8' hemlock ties. This would provide the proper height and level, while still being able to bury it a few inches to provide the structure more stability. To secure the ties together, I pre-drilled in the following order through the 4"x6" and into the 6"x6". 1-1/4" spade bit 1" deep. 1/2" spade bit through the rest of the 4"x4" marking the top of the 6"x6". Remove the 4"x6" and using the mark as a guide, 3/8" spade bit 2" deep. I did this 4 times across the 8' length. I then bolted a 1/2"x7" galvanized lag bolt with a 1/2" galvanized washer into each hole. Once complete, I flipped the tie over and repeated the process again using the third 4"x6"x8' hemlock tie, being sure to stagger the lag bolts so they didn't line up. Now that the tie was secured, I bolted two galvanized 6"x6" post saddles to the base of the tie, flipped it over and buried it 4" into the ground following the same process as outlined above.
End View of Sandwiched Hemlock Tie.
 Now that the "foundation" was built, I could build the floor platform structure using two 2"x6"x8' and seven 2"x6"x12' pressure treated spruce, 16" on centre. Everything was secured using 3-1/2" galvanized common nails. Once the joists were framed up, I secured the floor to the ties using six 4" wide angle brackets. The brackets were connected to the joists by first pre-drilling a 3/8" hole through the bracket and joist, then connecting it with a 3/8"x2" hex bolt, nut, and two 3/8" washers. The bracket was then secured to the tie by first pre-drilling a 1/4" hole through the bracket 2" deep and then bolting a 3/8"x3" lag bolt and washer into the tie. With the floor secured, I covered it with rough cut 1"x6"x8' tongue and groove boards. These were nailed down with 2-1/2" common nails.
L-Bracket Side Detail.

L-Bracket Top View.

Detail View of Sandwiched Hemlock Tie.

Overview of the Centre and Sandwiched Ties.
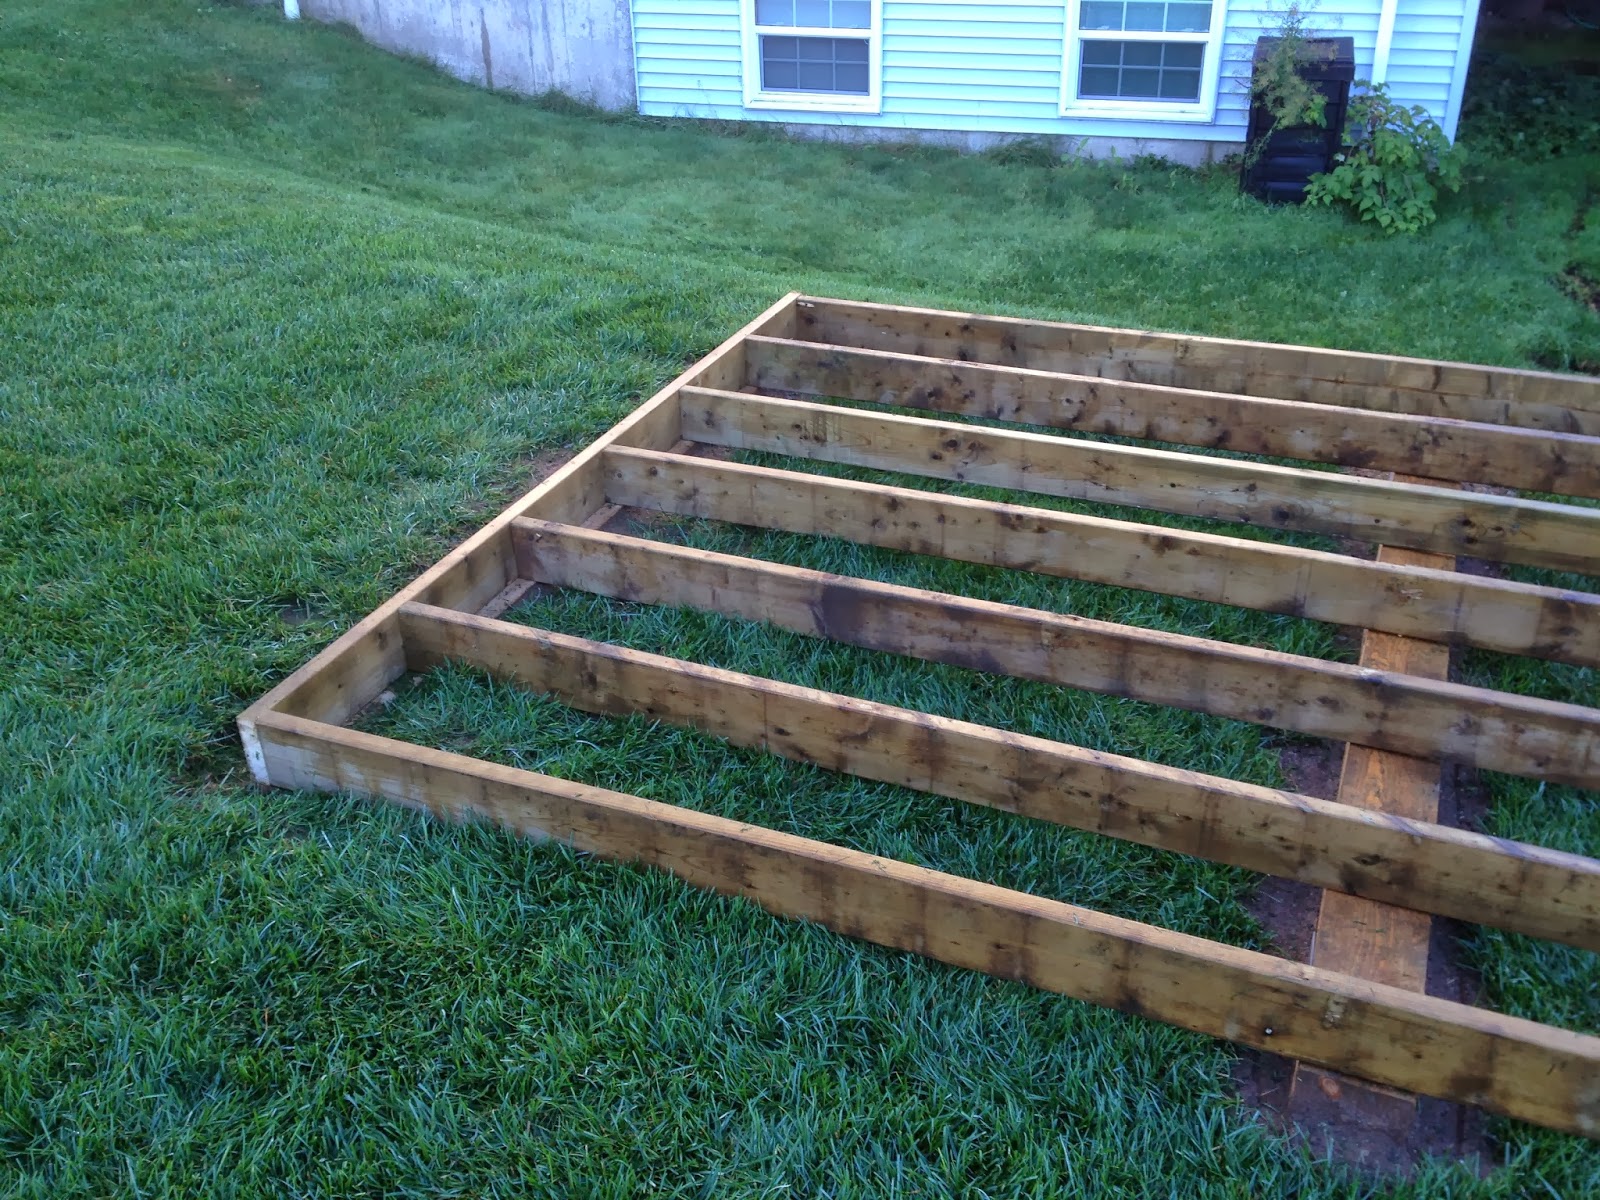
Floor Joists Sitting on 6"x6" Hemlock Ties.

Floor Planked with 1"x6" T&G.

No comments:
Post a Comment