Tuesday, October 15, 2013

Building a Backyard Garden Shed with Loft - Phase 3: Walls and Trusses

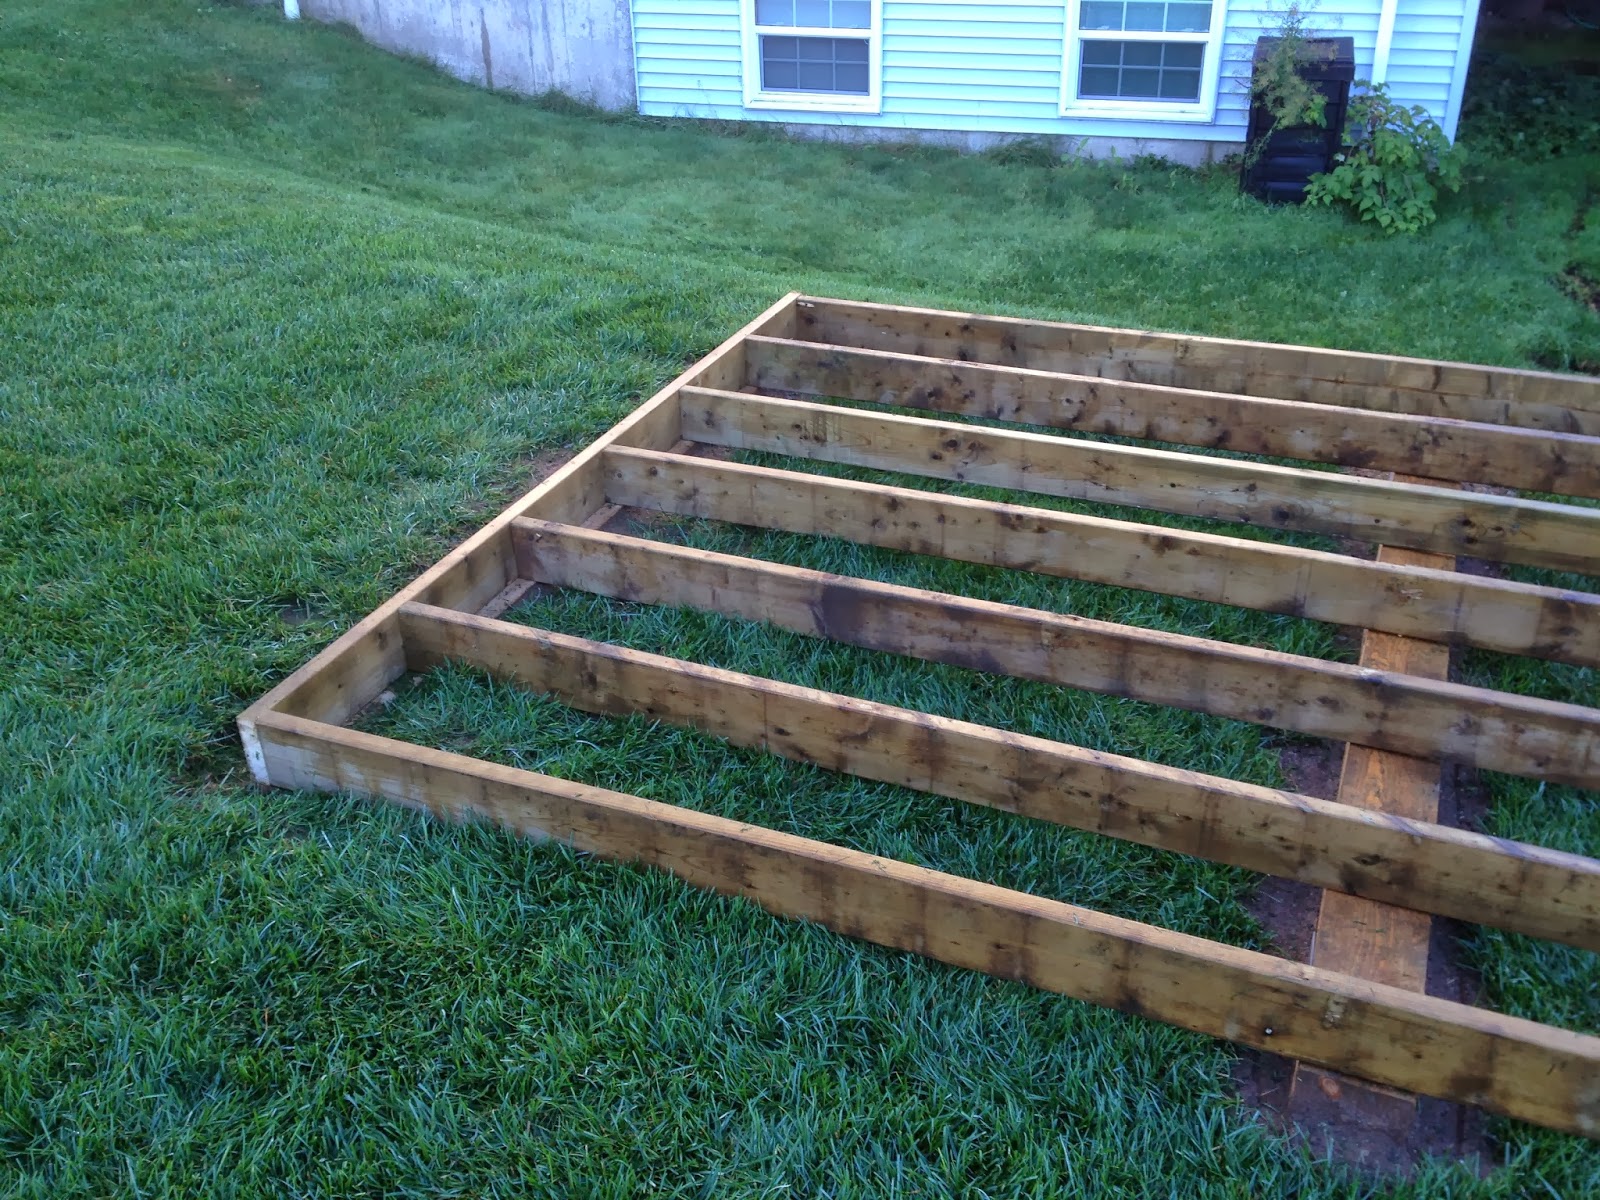
The Framed Structure. 

Laying out the walls was as simple as knowing what I was going to put in for doors and windows, and rough framing around them. I had been given a 34" steel door, two 30" double-hung windows, and a few glass inserts that I could turn into fixed windows. Because of the weight load from the roof and the loft, I framed 16" OC and used laminated 2"x6" headers with 1/2" plywood in the centre for all windows and doors. To keep the overall height down I framed the walls to 90" high, therefore abiding by my local height bylaws. I started by framing the simplest wall first (no windows or doors), bracing it up and securing it to the floor joists with 3-1/2" common nails. Working counter-clockwise I framed the walls, raised and positioned them with temporary bracing, and adjusted them for plumb. Finally, I nailed the top plate to keep everything secure. Before sheathing, I temporarily added cross bracing to each wall and ceiling to keep the walls from twisting and moving in the wind.
 
Walls and Cross Bracing.
 
Four Walls Nearly Complete.

Designing and building the trusses took a little bit of time to work out. I started out by laying out the 2"x4"s and 2"x6"s on the ground and using my speed square to get as close to an 18/12 pitch as possible. Basically I made it so that the inside height would be 6'. To make this possible without needing an insanely steep roof (not that 18/12 isn't), I had to cut a 12" 2"x4" wedge and screw it to the end of the 2"x6". This acts like a knee wall giving me an extra 12" of loft height. To make this area strong, I cut 1/2" plywood plates or gussets and secured them using 1-1/2" ring-shanked (spiral) common nails to each side.
 
Once the first truss was complete, finishing the rest was as simple as cutting out all the pieces necessary, then laying them down on the first truss and using it as a template to assemble the rest.

Finally, I was able (with help) to raise the trusses and secure them into place using 3-1/2" screws 20" OC. I used a string between the gable end trusses to line up the remaining centre trusses. For added strength in the wind, I added hurricane ties to each truss using eight 1-1/2" roofing nails. Once again I used cross bracing to keep everything from moving and twisting in the wind.


Detailed View of Plywood Truss Plates/Gussets.
 
Hurricane Ties for Added Strength.
 
Finished Frame with Cross Bracing.
 
 Sheathing the structure is next...

Building a Backyard Garden Shed with Loft - Phase 2: Platform/Floor

 
Unplanked Floor. 
 

Being that the only place to put my shed was on top of a sewer easement on my property, I knew that the structure could not be permanent. The proposed site I chose was also not level, but sloping in two directions. I went to my local saw mill and bought three 6"x6"x8' and two 4"x6"x8' hemlock ties because I wanted to bury each one part way to anchor the structure. To anchor the ties even more, I bolted two 6"x6" galvanized post saddles using 1/2"x2" galvanized lag bolts wit 1/2" galvanized washers to two of the 6"x6"x8' ties. I was then able to completely bury the first tie up slope (saddles facing into the ground), and the second tie I buried only a few inches in the ground at the 6' length. Because my soil was compacted using a vibrating roller during the burial of the sewer pipe in the easement, I had a difficult time putting the tie with the saddles in the ground. I needed to pound a steel bar into the ground at the depth of the rebar post anchor to pre-form the holes so that the tie would properly seat on the ground.

 
The final tie had to be created using a 6"x6"x8' sandwiched between two 4"x6"x8' hemlock ties. This would provide the proper height and level, while still being able to bury it a few inches to provide the structure more stability. To secure the ties together, I pre-drilled in the following order through the 4"x6" and into the 6"x6". 1-1/4" spade bit 1" deep. 1/2" spade bit through the rest of the 4"x4" marking the top of the 6"x6". Remove the 4"x6" and using the mark as a guide, 3/8" spade bit 2" deep. I did this 4 times across the 8' length. I then bolted a 1/2"x7" galvanized lag bolt with a 1/2" galvanized washer into each hole. Once complete, I flipped the tie over and repeated the process again using the third 4"x6"x8' hemlock tie, being sure to stagger the lag bolts so they didn't line up. Now that the tie was secured, I bolted two galvanized 6"x6" post saddles to the base of the tie, flipped it over and buried it 4" into the ground following the same process as outlined above.

 End View of Sandwiched Hemlock Tie.

Now that the "foundation" was built, I could build the floor platform structure using two 2"x6"x8' and seven 2"x6"x12' pressure treated spruce, 16" on centre. Everything was secured using 3-1/2" galvanized common nails. Once the joists were framed up, I secured the floor to the ties using six 4" wide angle brackets. The brackets were connected to the joists by first pre-drilling a 3/8" hole through the bracket and joist, then connecting it with a 3/8"x2" hex bolt, nut, and two 3/8" washers. The bracket was then secured to the tie by first pre-drilling a 1/4" hole through the bracket 2" deep and then bolting a 3/8"x3" lag bolt and washer into the tie. With the floor secured, I covered it with rough cut 1"x6"x8' tongue and groove boards. These were nailed down with 2-1/2" common nails.
 

L-Bracket Side Detail. 

L-Bracket Top View. 
 
Detail View of Sandwiched Hemlock Tie.
 
Overview of the Centre and Sandwiched Ties. 
 
Floor Joists Sitting on 6"x6" Hemlock Ties. 
 
Floor Planked with 1"x6" T&G. 
 
 
 The walls are next...

Friday, October 11, 2013

Building a Backyard Garden Shed with Loft - Phase 1: Planning

Primary sketch of the building.

A few years ago we found out that a large piece of forested land behind our property was going to be developed. A large amount of infill was needed to make this possible, which in turn would affect our lot by raising the level from a rather steep and unusable property to a fairly level lot. After much discussion, my wife and I decided that we could finally build a large shed to solve our storage needs. I had flirted with the idea of buying an 8'x10' resin shed from the local bulk warehouse store for $999, and even an 8'x10' wooden kit shed from the local building supply store for $1200.

The problem with these solutions was that on top of the cost of the resin and kit sheds, I would still have to build a solid base, and in the case of the wooden kit shed, also buy the asphalt shingles, siding, and a window if I wanted to. Construction quality and materials was also an issue since I had a family member who bought a resin shed and he told me that they had problems handling any snow load because of the low pitched roof (3/12). His solution to prevent the roof from collapsing in the winter was to prop a 4"x4" in the centre of the shed to support the roof.

A friend of mine also bought a resin shed and complained about the fact that even though he followed the manufacturer's instructions, the roof still leaked when it rained. The quality of wooden kit sheds was not much better either, since the unit itself was built 24" OC and made using wafer board sheathing and twisted knot-filled lumber. I quickly realized that the only option would be to build one myself my way and with quality materials.

The first thing I needed to do was to figure out a floor plan and elevation. I spent weeks combing through the Internet trying to find pictures, example plans, and advice from anyone out there, but what I found was a lack of examples and information. It took me a while to figure out what I wanted to build. I knew I wanted more than just a shed, I wanted something that the whole family could use during our long winters when the summer cottage was closed. An idea started to form of a hybrid garden shed and backyard cottage. I knew I wanted a very classic Victorian/Edwardian style building with a loft large enough for me to stand up in. I spent almost a whole year over my lunch time walks at work thinking about and refining designs and plans in my head on how the building would be built and look like. Being that I walk through neighborhoods, I took the opportunity to examine other people's homes and outbuildings to be able to gather ideas and refine my own.

In September of 2013 I finally had the time to start building the shed I thought would never get built. The only problem was that when I staked out the floor area (12'x16'), my wife said it was too big and that I would have to make it smaller. After a bit of grumbling from me, I decided to make it 8'x12', but increase the loft height to accommodate more storage. I knew that our local bylaw prohibits any outbuildings to be taller than 15', so it was going to be tight since I was planning on having an 18/12 pitched roof. No snow load problems there!

Now on to the construction phases...